My crochet summer top pattern is a really easy make. Suitable for beginners, you probably have the yarn in your stash already!
Jera’s Jamboree receives payments for affiliate advertising. This is at no extra cost to you. As an Amazon Associate I earn from qualifying purchases. Please see my disclosure policy for more information.
If you can chain and work single crochet and double crochet you’ll be able to follow this pattern.
Don’t let the filet crochet put you off. Created by double crochet and chains in repetitive blocks, you’ll have your top made in no time.
Another example of filet crochet in a garment is my Amelia short-sleeve cardigan.


Over the past few months, I’ve crocheted a few summer tops for myself from bought patterns and a couple I’ve created. I get so absorbed in working through a design project that I forget to write it down to share with you. I made a conscious effort to get this written down and took photos!
Go to the instructions (US crochet terms)
How the pattern is worked
There’s no increase/decrease as there is no shaping needed on this crochet top pattern.
The crochet top is created by crocheting two rectangles.

You don’t have too many ends to sew in either (takes me ages to sew my ends in!).
Related Summer Crochet Patterns
- Whispering Rose Crochet Summer Top
- Maisie Poncho Top
- 20+ Crochet Summer Tops
- Summer Dress Crochet Patterns
- Summer crochet cardigans
- 13 Stylish Crochet Tank Top Patterns
- Beach Bloom Crochet Beach Cover Up
- 15+ Free Crochet Cover Up Patterns
- Easy Crochet Tank Top
- Easy Lacy Scarf
- Easy Lightweight and Lacy Shawl
- Lightweight and Lacy Free Scarf Patterns
- Boho/Festival Free Patterns
- Granny Square Bucket Hat
- Easy Bucket Hat
- 20 Free Bucket Hat Patterns
- Crochet Sun Hat Patterns
- Crochet Flowers
- 17+ Easy Crochet Wedding Patterns
Yarn
A cotton or a cotton mix is breathable and will keep you cool! Cotton can be heavy but with this filet design, your top will lightweight.
Have a rummage through your stash for DK weight. You’ll need approximately 250g.
Pattern Notes
- The pattern is worked in multiples of 8 + 8.
- The filet crochet is worked in 4 repeats of ch1, sk1, dc

- When you work out your foundation chain, add one for your turning chain (the first row is single crochet).
- The rest of the pattern uses double crochet .
- I prefer chaining 2 as my turning chain because the space between stitches at the start of a row is less obvious and doesn’t have a gap when you sew the side seams.
- Chain 2 in this pattern counts as a stitch.
Level
Easy
Supplies and Materials
- 250g cotton DK in the colour of your choice
- 4mm crochet hook
- Scissors
- Tapestry Needle (to sew in ends)
Stitches and Abbreviations
- Ch -chain
- St/s – stitch/es
- dc – double crochet
- sc – single crochet
- Sk – skip
- Rep – repeat
- Rs – right side
- Pm – place marker
Best gifts for crocheters? Get inspired with my gift guide
Measurements
To keep this pattern simple, choose your measurements by:
- measuring a top that you already own and feel comfortable wearing
- measure the bottom hem for the width
- measure from the hem to the neckline for length
You could also take your own measurements. If you want a bit of movement in your top, add extra chains. If you prefer your top to be figure hugging, reduce the number of chains.
Keep in mind the stretch of the fibres you’re using when crocheting your foundation chain. Some fibres have more stretch.
Measure your foundation chain as you work it and adjust if necessary.

Easy Crochet Summer Top Pattern
Easy Summer Top Instructions US Crochet Terms
Row 1 : sc across, ch2, turn
Row 2: 1st block *dc in next 8 sts, 2nd block *ch1, sk 1, dc in next st* *rep four times* These two blocks of 8 sts form the pattern. Rep blocks across, ch 2, turn
Row 3: This is your alternating row. If you ended row 2 with dc 8 sts then you will need to start with ch1, sk1, dc in next st.
Repeats of rows 2 and 3 form the pattern.
Continue in pattern until your desired length.
Final row : ch1, sc across.
Fasten off leaving a longer tail which will be used to sew the shoulder seams.
Make your second rectangular panel.
Assembly
With rs of both rectangular panels facing inwards, measure neck opening and use pm to show you where you are going to sew the shoulder seams.
Originally I left a neck opening of 10″ but I adjusted it to 8.5”.
Make sure your measurements are equal on both sides. I used a pm for the centre of the panel to measure equally either side.
Sew shoulder seams.

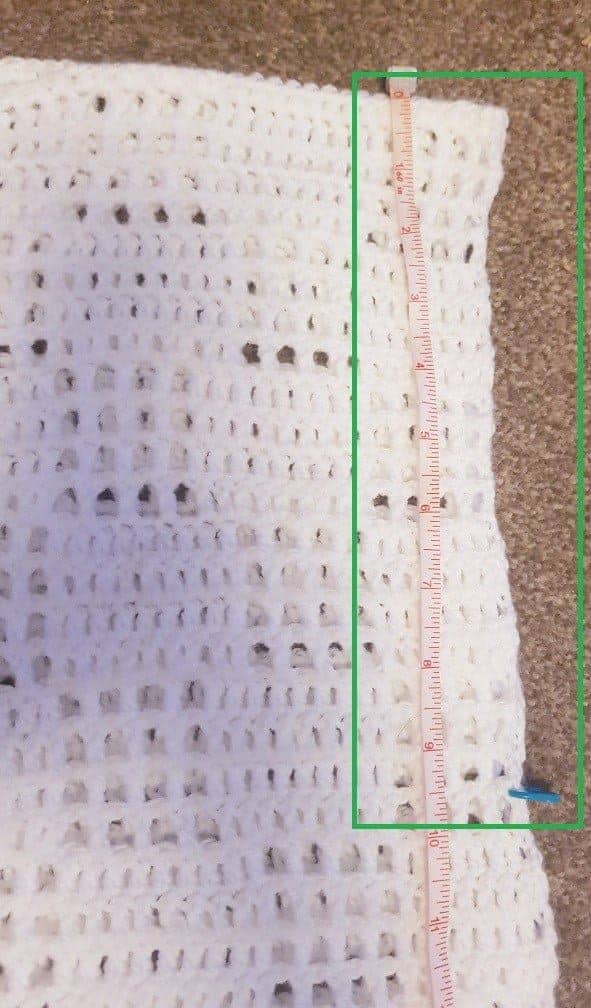
Measure side seams leaving a gap for armholes. Start at the neckline and measure downwards. Use a pm to show where you are going to start sewing the side seam.
I left a depth of 9.5” for armholes because I like mine loose.
Sew in all ends to finish off.

I made a mistake on one of my rectangles – one block is solid double crochet for 9 st while the openwork is only 7 (instead of 8 and 8). You can’t tell though!
As long as mistakes look ok I’m a great believer in leaving it! Especially if it means you don’t have to frog (unpick) lots of stitches (I’ve unpicked a few in my years of crocheting!).
Crochet is very forgiving.
If you’re just starting out on your crochet adventure, click here for 7 of the best learn to crochet kits.
If you’re interested in working with hand dyed yarns, click here for the best yarn subscription boxes.
Happy crocheting!
Copyright Notice
The pattern and photographs of this design are the property of Sharon Goodwin at Jera’s Jamboree. This pattern and design are subject to copyright and are for personal, non-commercial use only. You may not share, resell, alter or redistribute this pattern in part or in whole. You may, however, sell any finished items you make. If you would like to include this pattern in a roundup, you may take one photo and link back to this pattern.
